7 tips for night photography: photographing the moon and stars
by jace
home / back to photography
How to start night photography
We’ll never forget some places after sunset. In Turkey, we couldn’t put the camera down at night because we saw pastel moon rises, herds of horses and glowing valleys.
Since then, we’ve learned so much more about night photography and have started capturing the moon and stars whenever we get the chance. We’re definitely not experts, but have picked up some tips for getting started in night photography.
Moon rise over Istanbul, Turkey

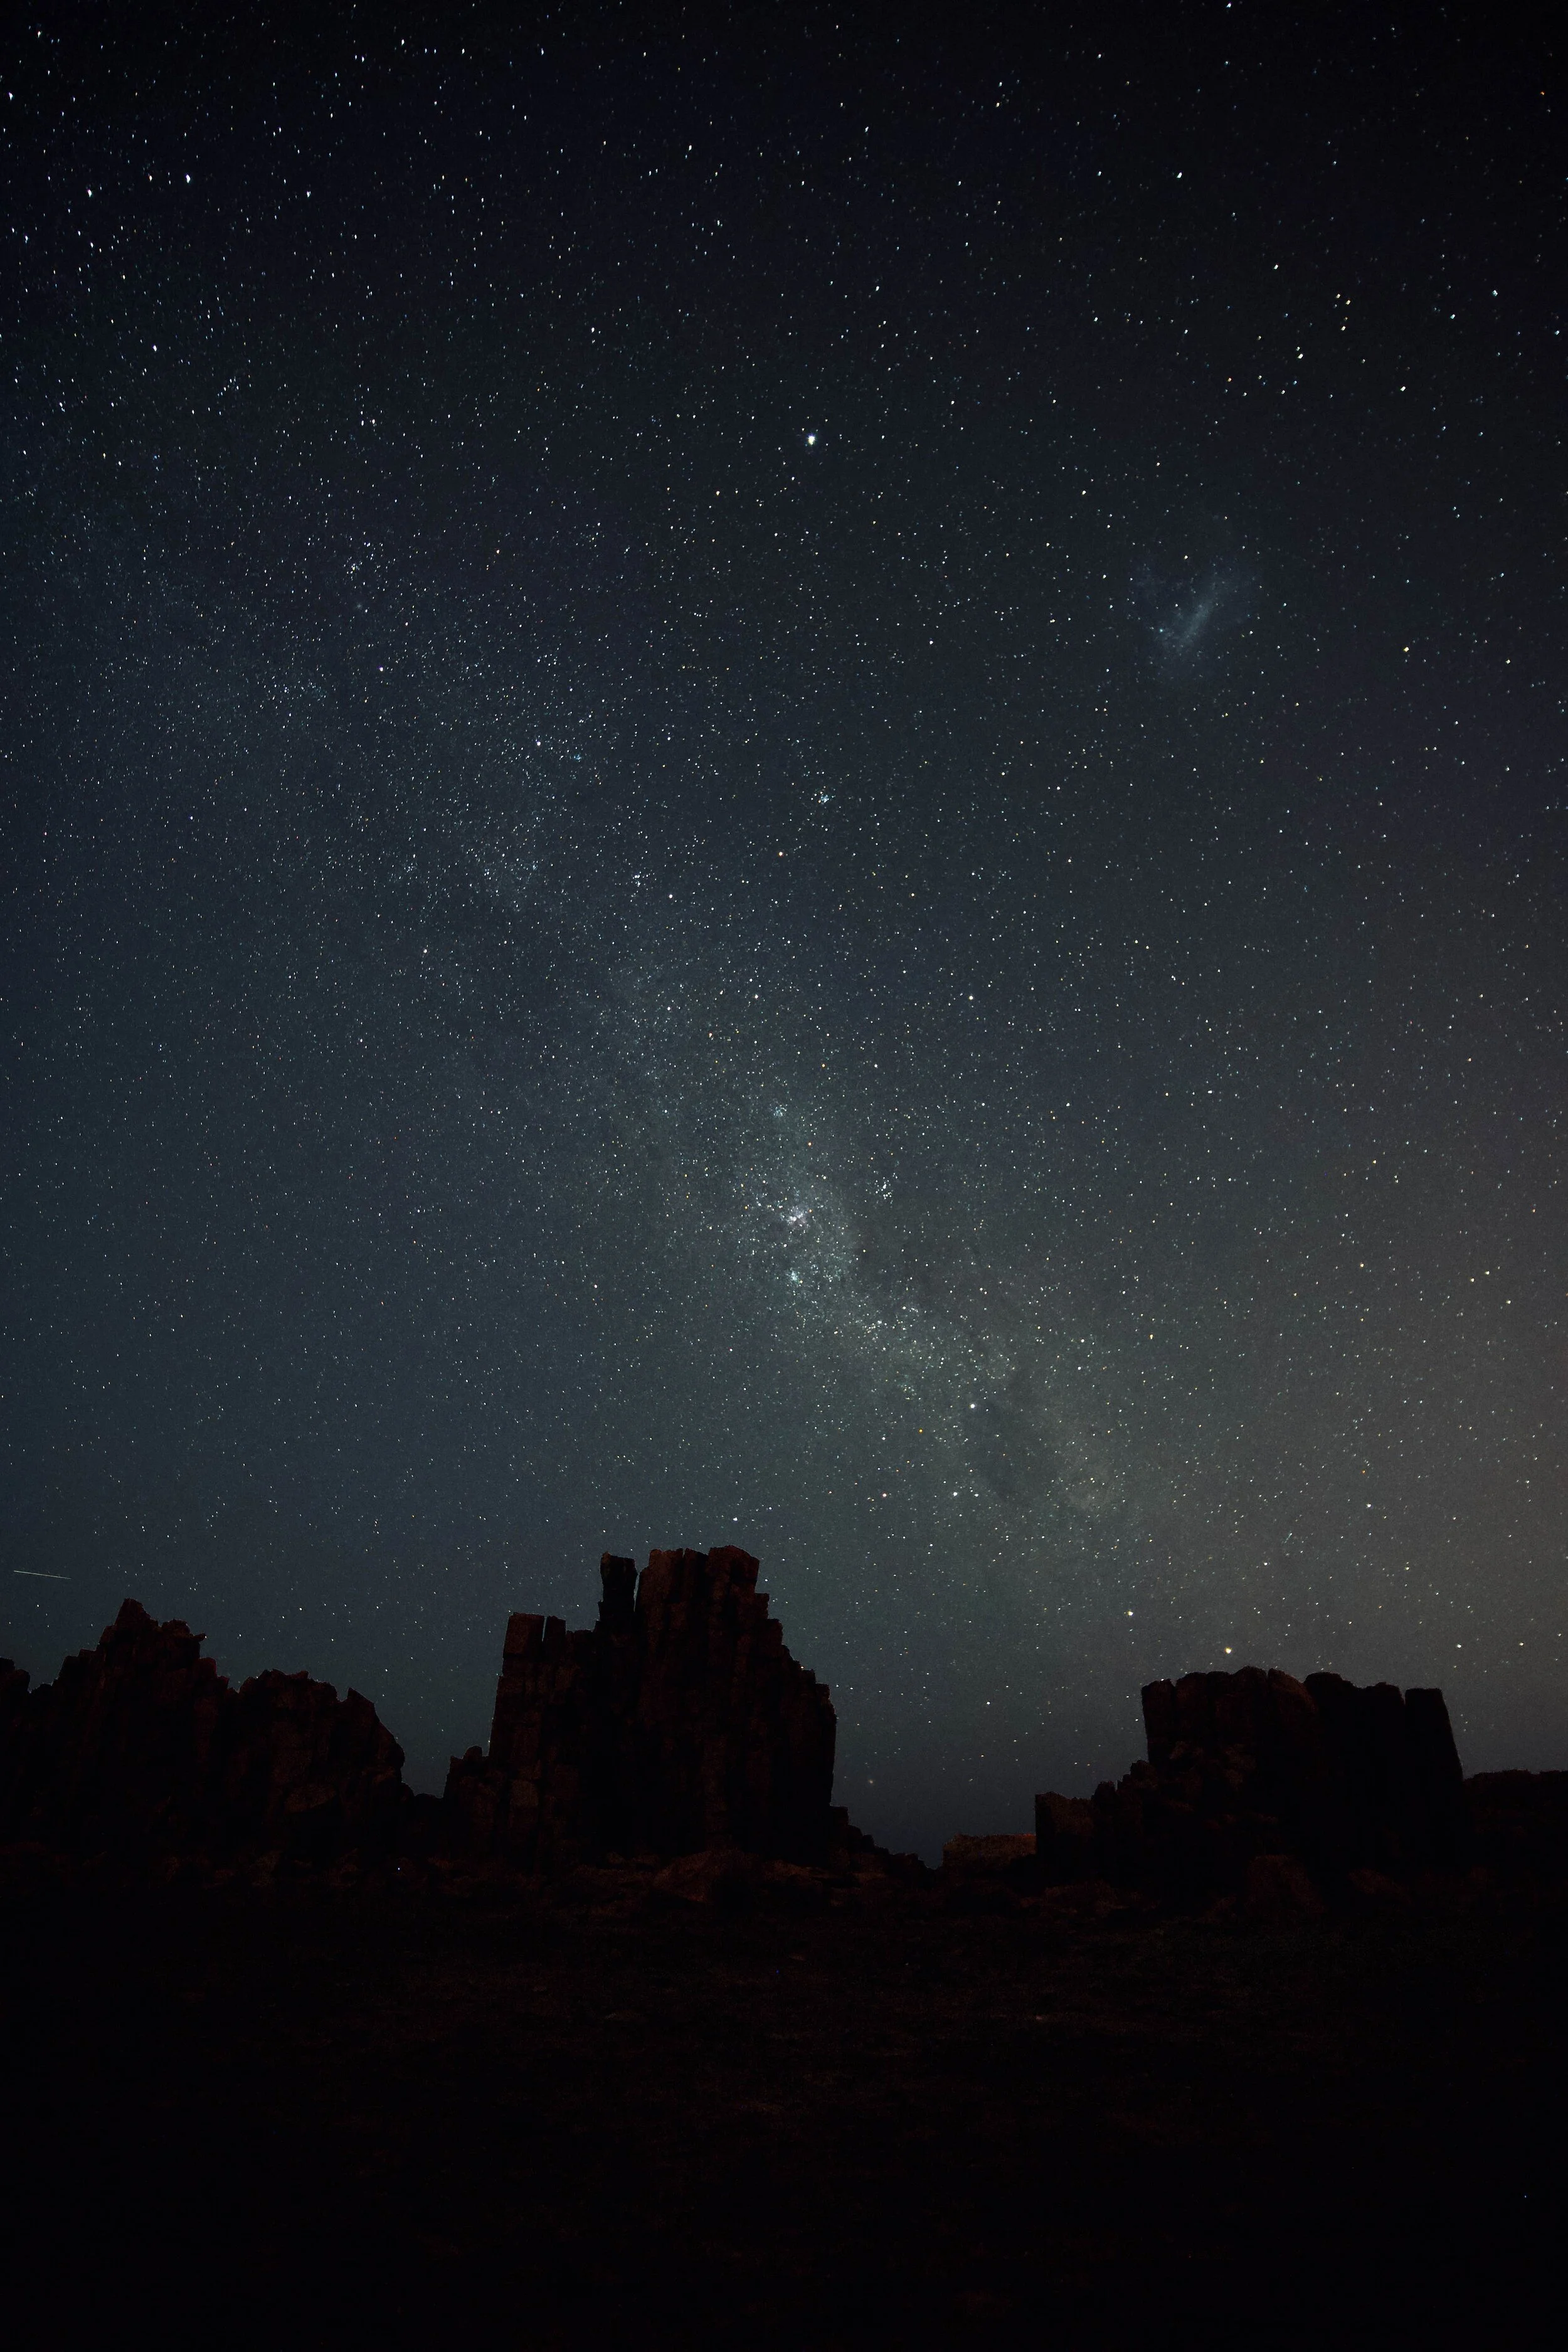
Night in Göreme, Turkey
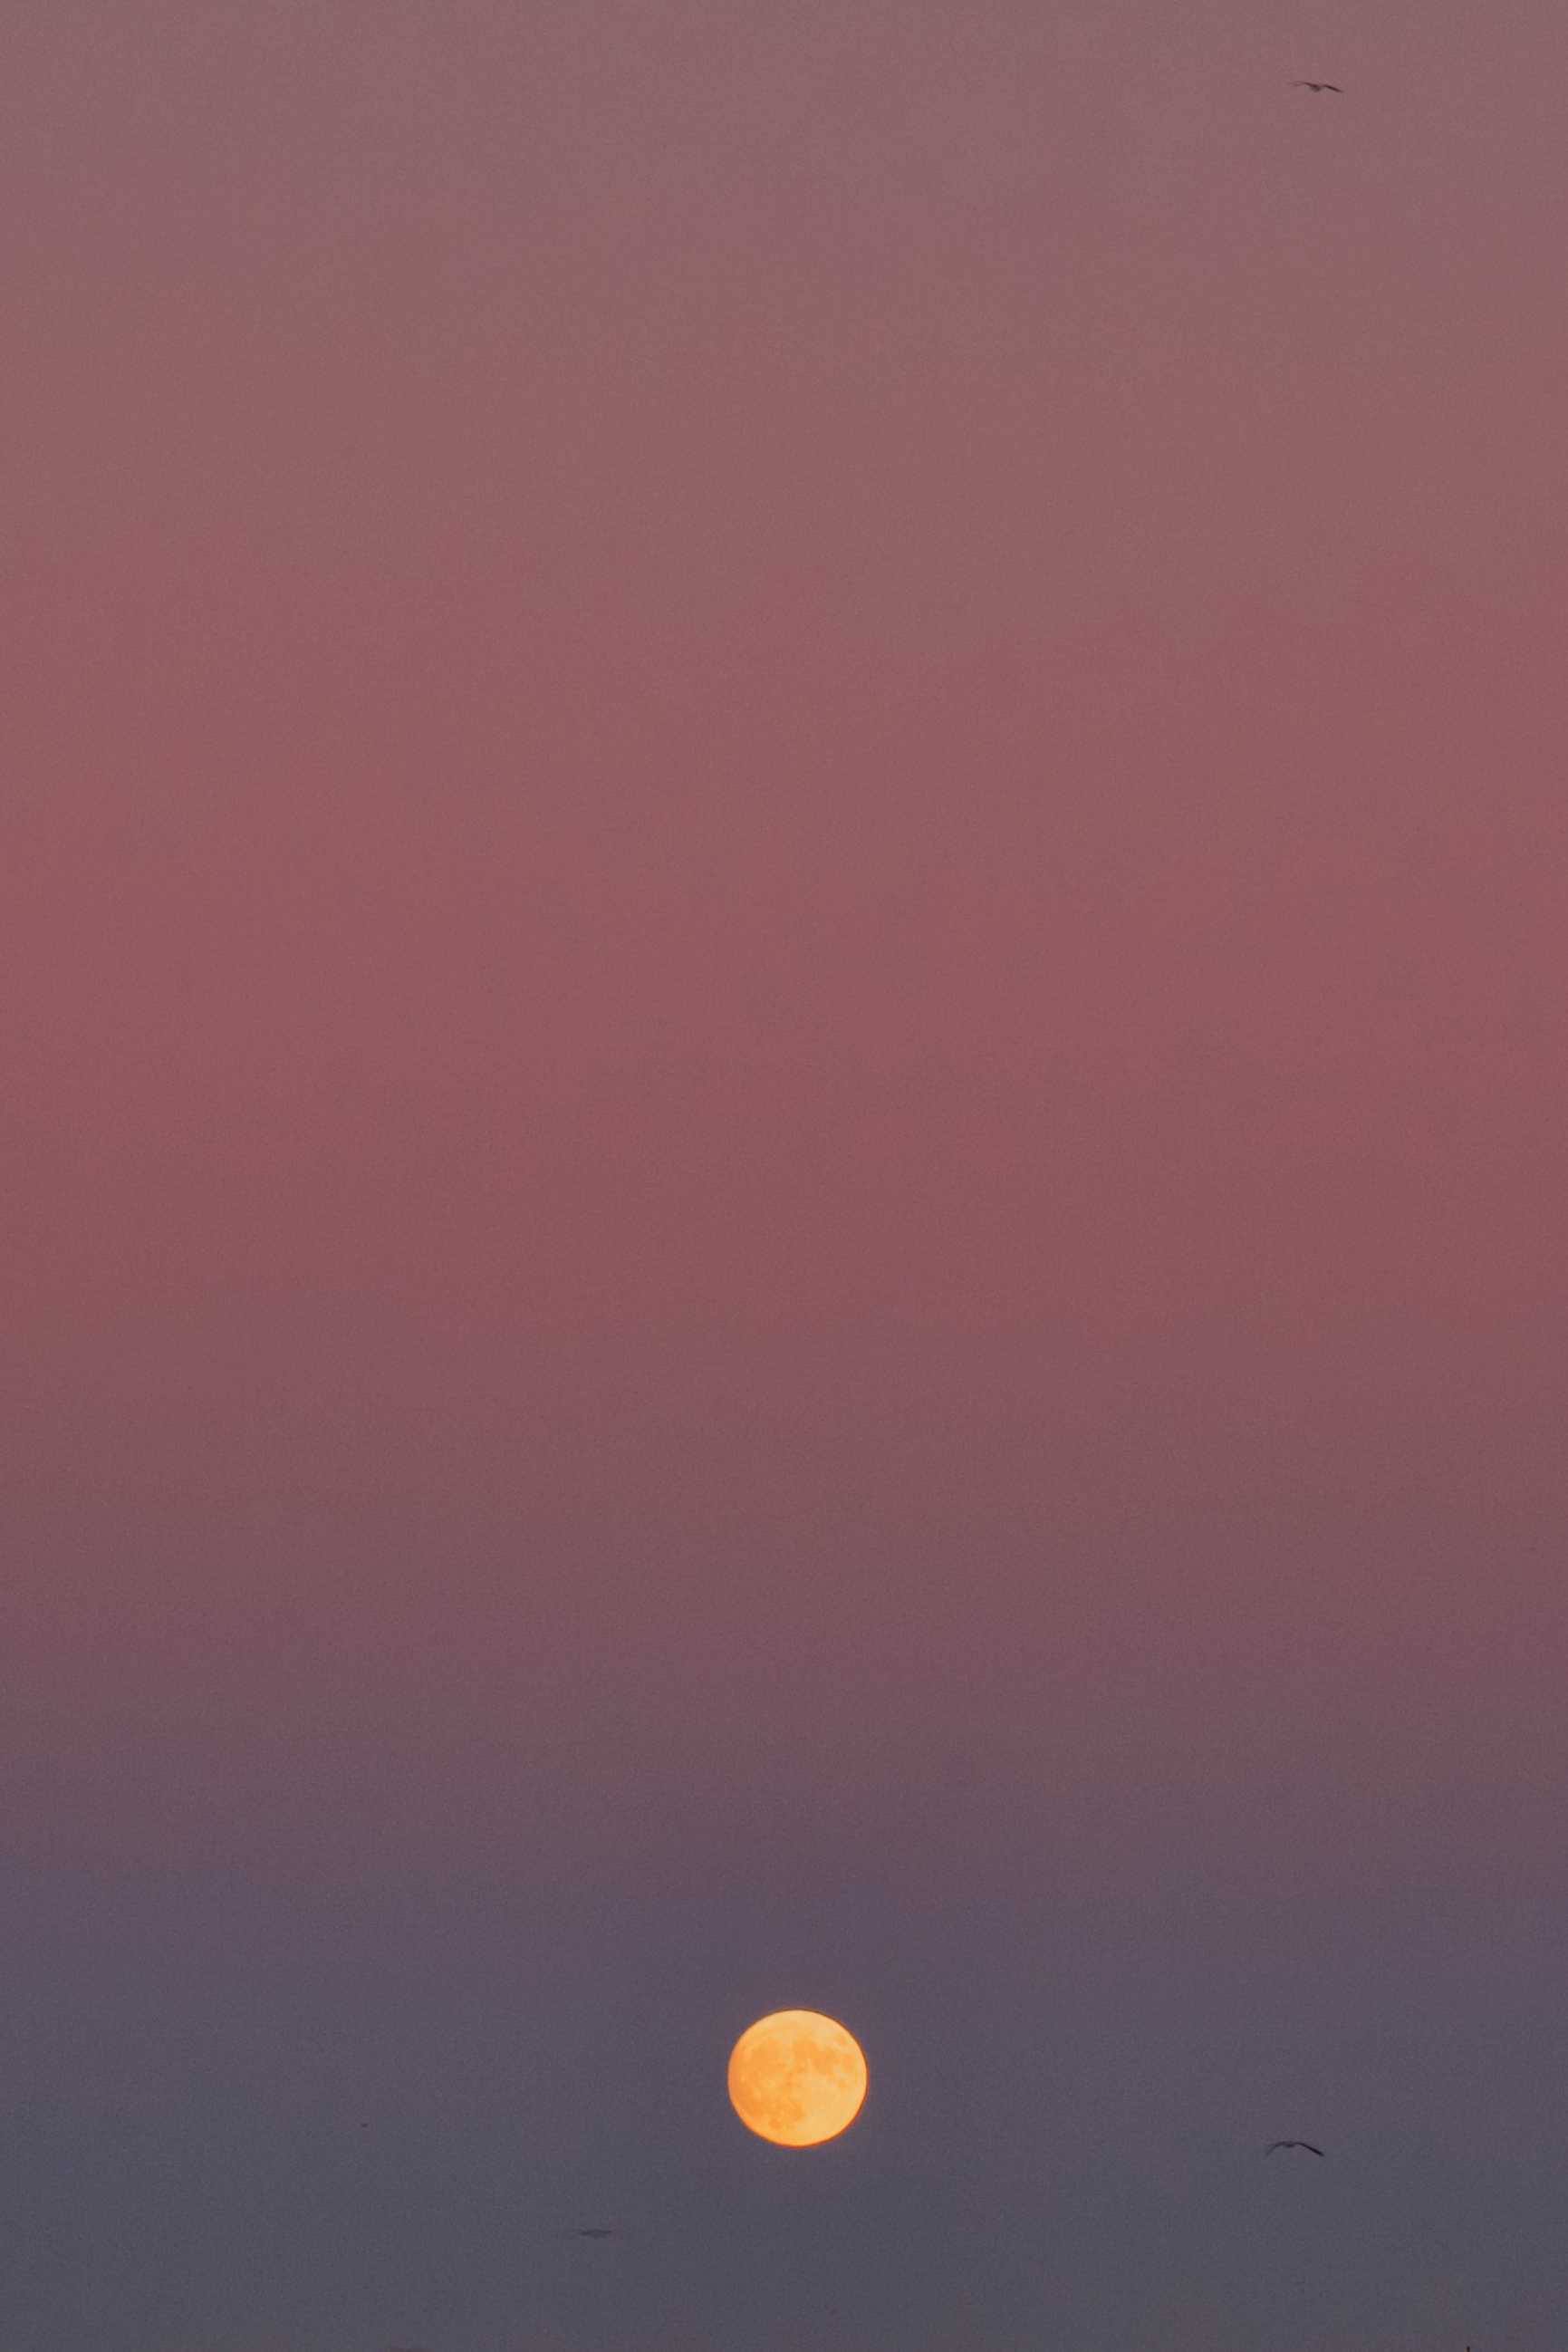
Full moon above Sydney, Australia
7 TIPS FOR NIGHT PHOTOGRAPHY
Finding the right camera gear
When shooting in low light, the most important thing to consider is the aperture—how much light is able to pass through the camera lens. Setting the camera to a lower aperture (or f/stop) means more light is entering the camera, and you don’t need to have as long of an exposure for more stars to appear in your photo.
So if you’re planning to do a lot of night photography, it helps to invest in a lens with a low aperture. Our preference would be a lens that can shoot between f/1.2 - f/2.8. A wide angle is also useful to fit more of the night sky into the frame.
We currently use a Tamron 17-24/f2.8 lens. Before we had this lens, we did have some success with our Sony f/4, too, but the photos are a bit noisier.

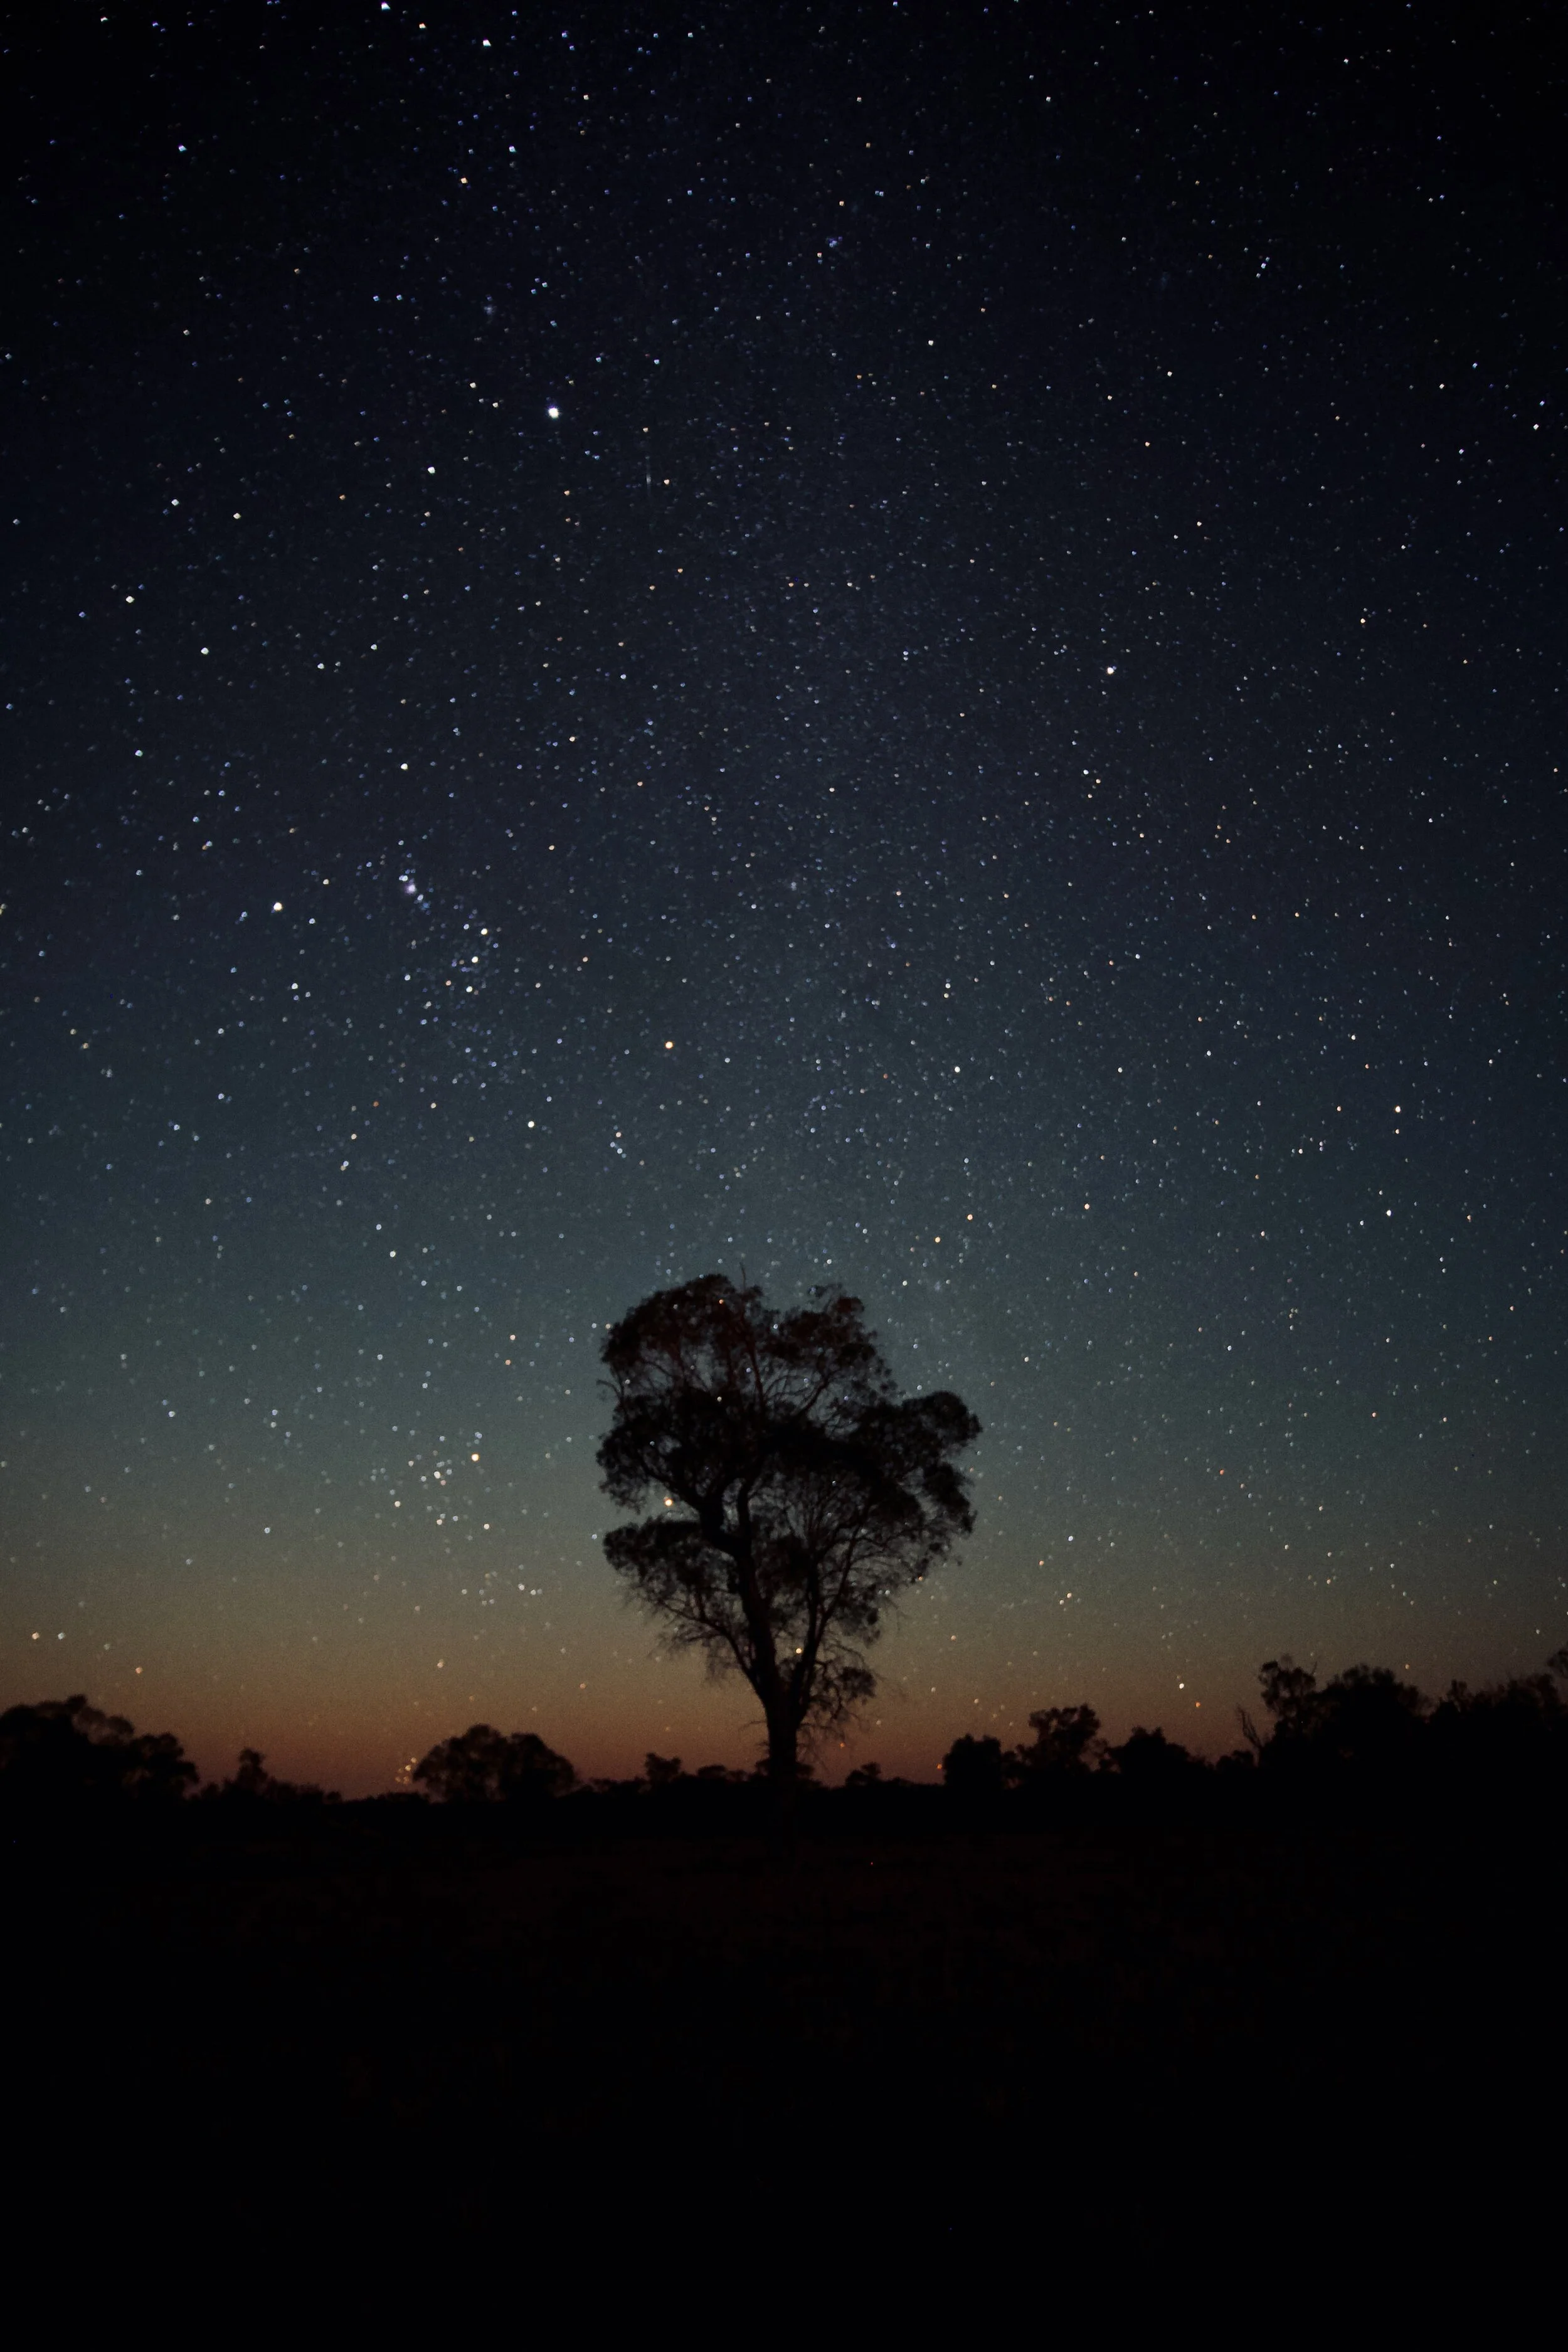
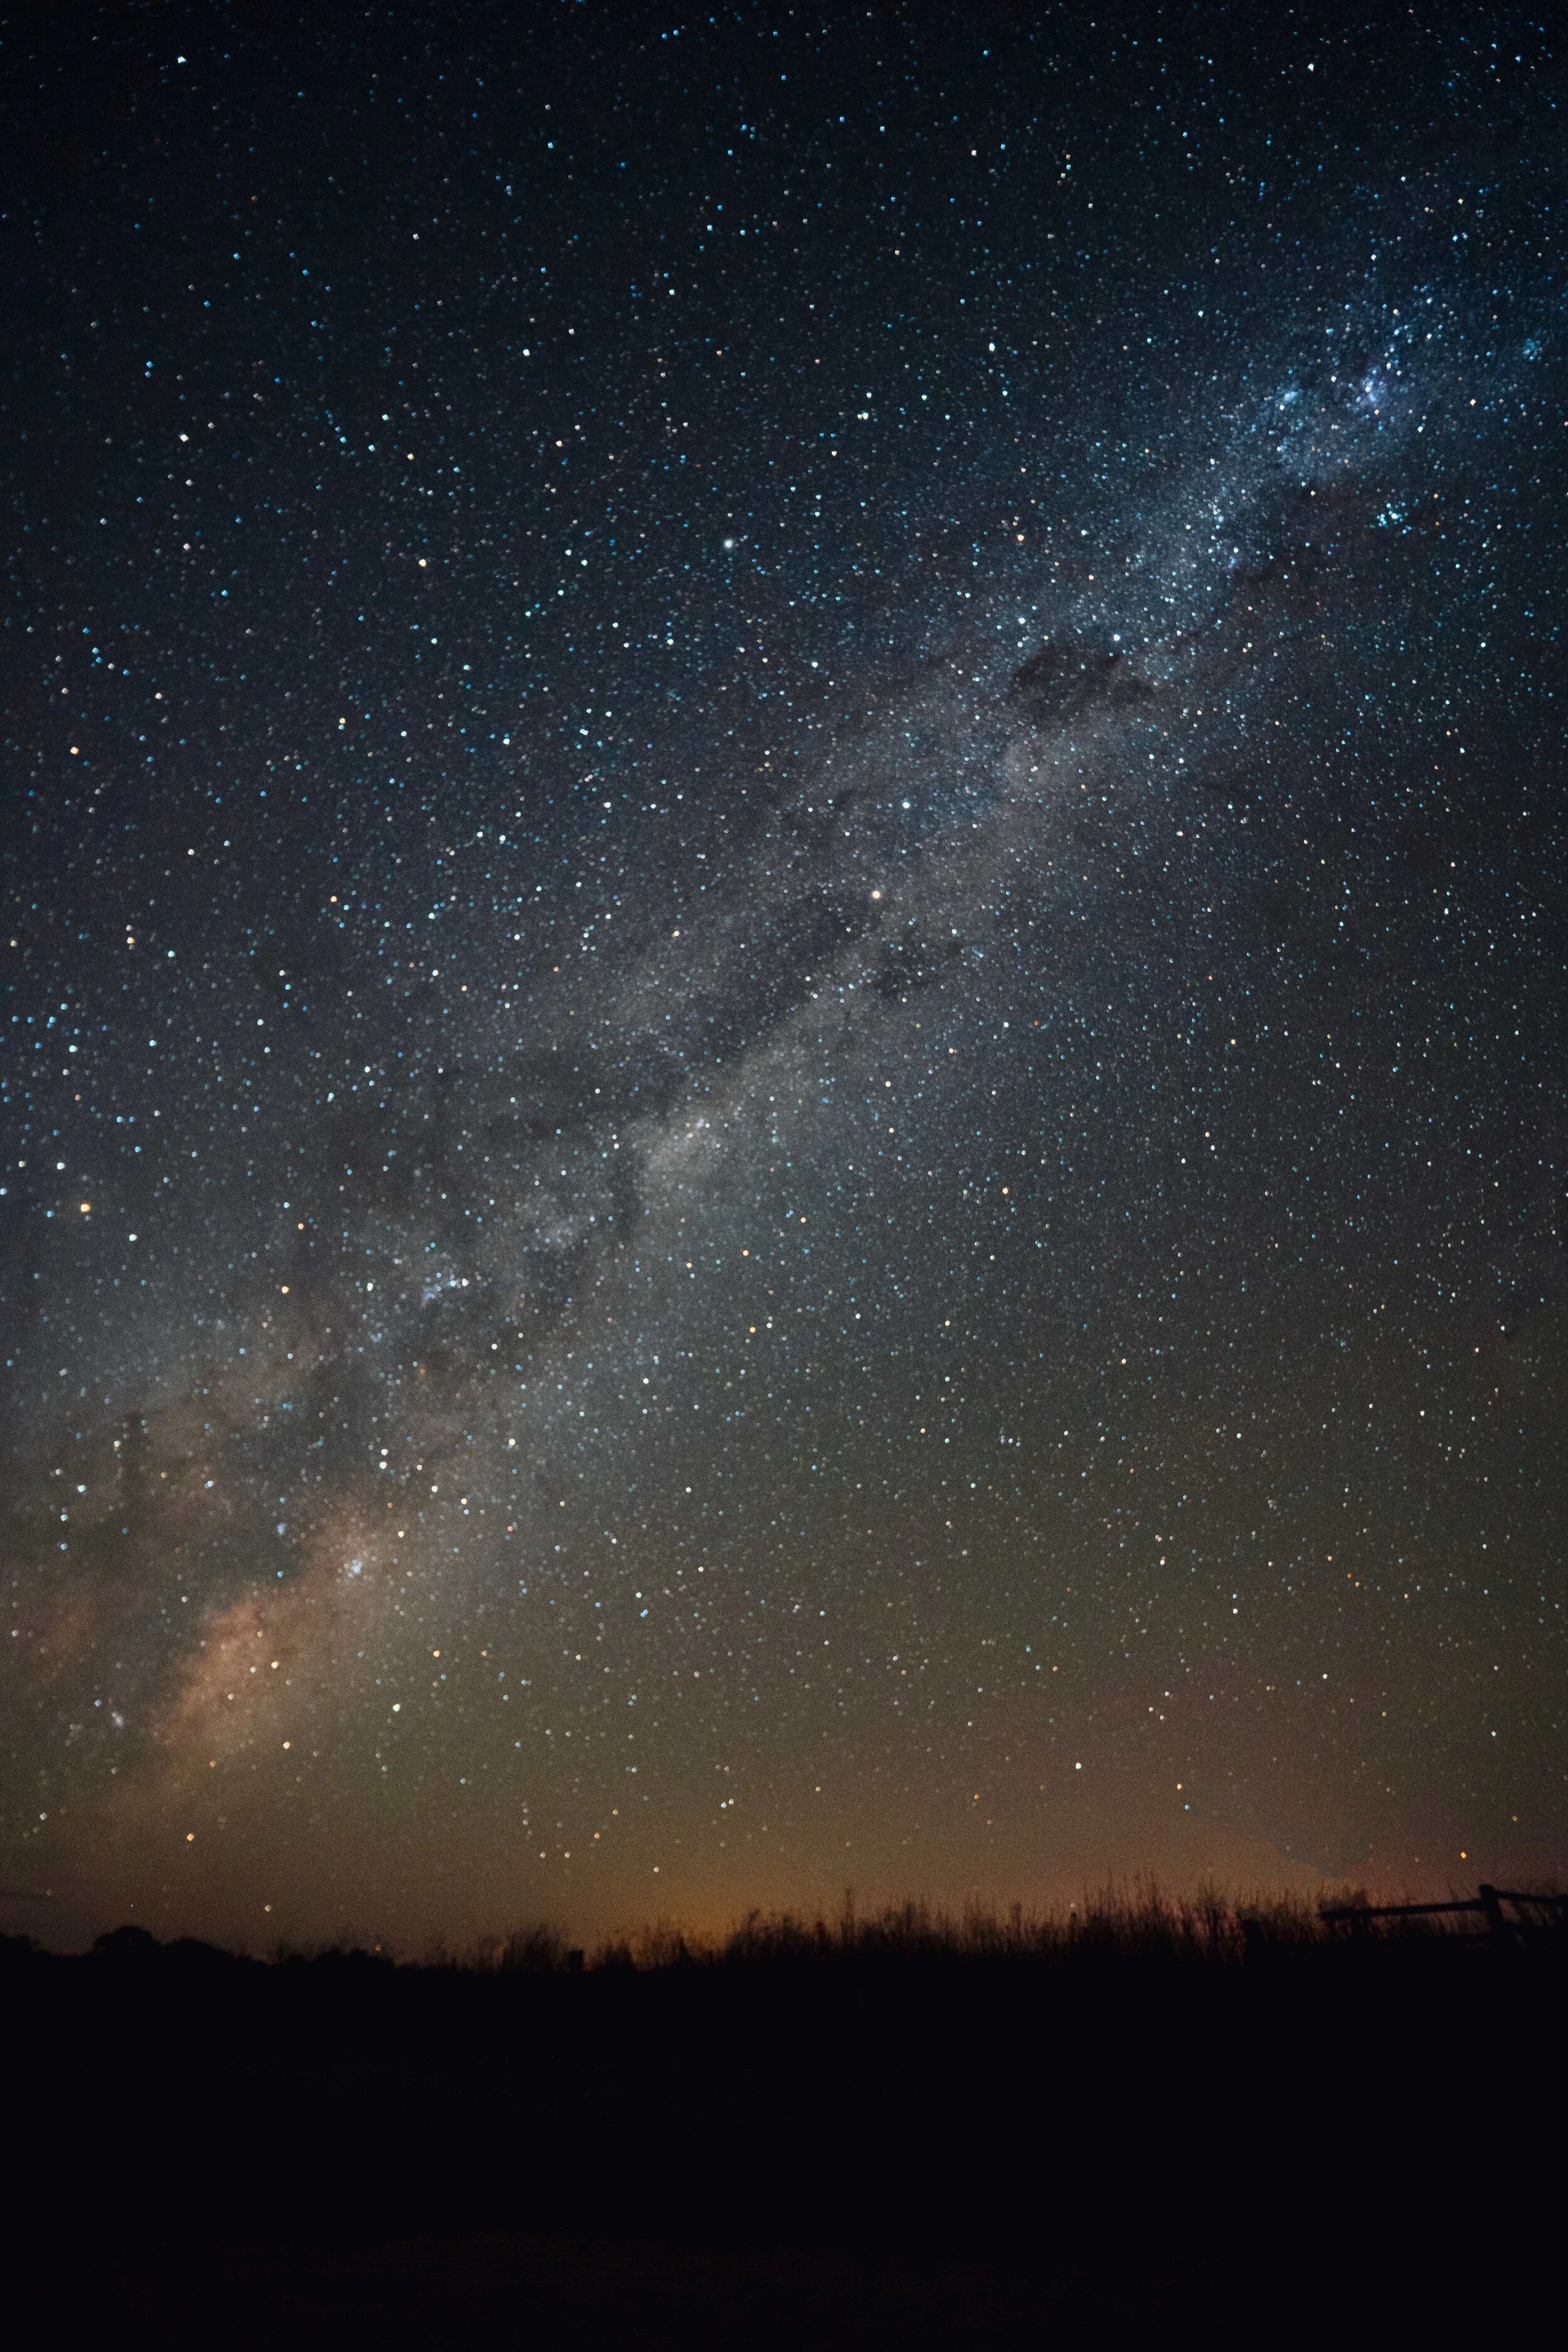
Stars over Mungo National Park
2. Check the weather conditions
Some conditions provide better opportunities for astrophotography. The clearest skies are usually during little cloud cover, a new moon (or when the moon is still below the horizon), and in areas that are far from light pollution.
There are also certain events that we look out for. One night, we went into the mountains to see the super moon rise. It was a full moon, at its closest point, and completely eclipsed by the earth. For around 15 minutes, it glowed a deep red. These are the kinds of moments that we want to prioritise—they happen so infrequently but instantly put everything into place.
To find events like this, plan ahead and check the weather. We also use the SkyView app to check the constellations that we’re seeing, and to find out when and where the moon will rise.
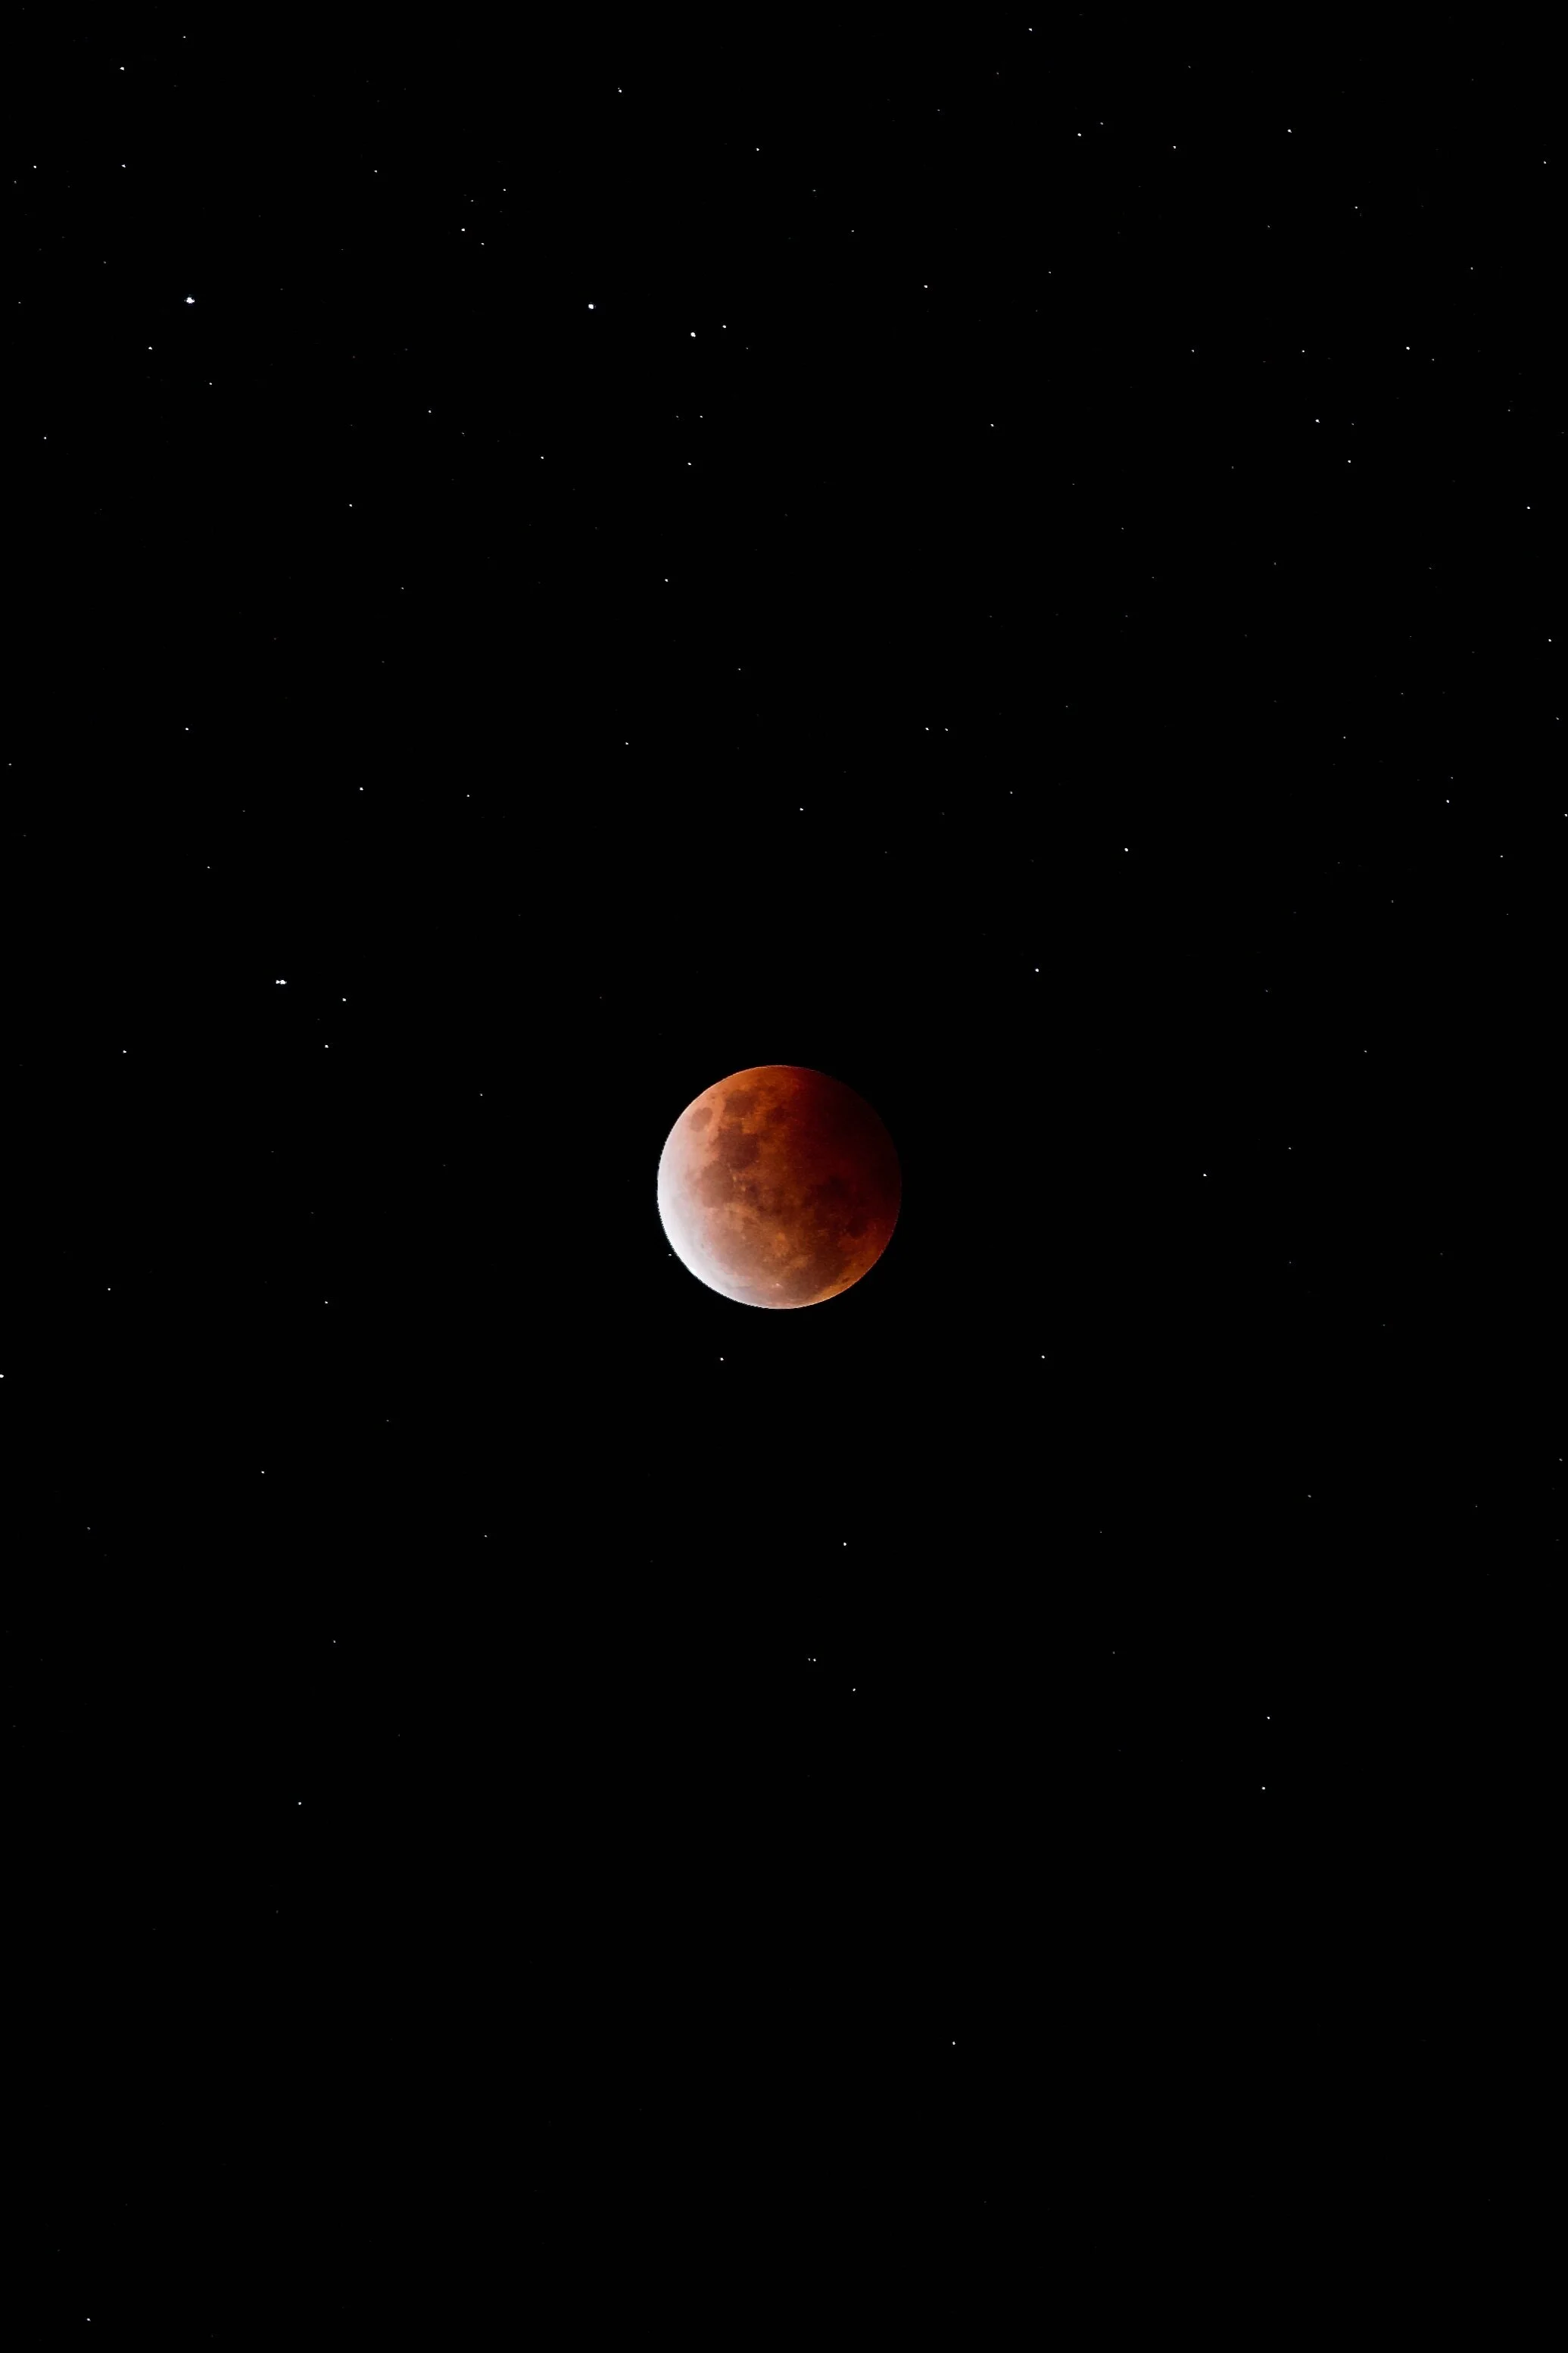
Blood moon during the lunar eclipse | Sony A7III with Sony 70-200mm/f2.8 telephoto lens
ISO 320, 200mm, f2.8, 1 second exposure

Super moon from Bouddi National Park
(Composite image)

Moon setting during the sunrise in Lake Mungo
3. Have as little light pollution as possible
When shooting the stars, it’s really important to have as little external light as possible—including no moonlight. We’re always surprised by just how much light pollution can be created by cities, roads, and even small buildings in the distance.
Light pollution shows up as a murky glow in one part of the photo, and can wash out a lot of the detail that you’re trying to capture. To avoid light pollution, the easiest way is usually to head away from any major city, and make sure that you don’t have any lights from nearby cars, phones or street lamps.
Near home in Sydney, some of our favourite places for astrophotography have been in Kiama, Mudgee and the Blue Mountains.

Moon light in Govett’s Leap, Blue Mountains NSW
Stars over Bombo Quarry, Kiama NSW

Moon rise from Govett’s Leap, Blue Mountains NSW
4. Finding the right settings for the stars
To set up a shot of the stars, start by putting the aperture down to the lowest that it can go so that you’re taking in as much light as possible. For us, that’s f/2.8 on our Tamron 17-24 lens.
Then, adjust the shutter speed and ISO to match (in that order). We’ve found that a 13 second shutter at a 2.8 aperture setting is usually a safe bet—if it’s open for any longer we tend to get star trails. Try a few test shots with a shutter speed between 10-15 seconds to see what works best for you around your aperture.
For a 13 second exposure, we usually set the ISO to around 4000/5000, depending on how dark it is where we’re shooting. If the ISO is too high, you’re likely to notice more noise and grain in the shot.
5. Keep the camera still
To keep the camera steady during a long exposure of the stars, set it up on a tripod. There can still be some shake just from pressing the button to take the shot, so it also helps to use a delay timer to eliminate any movement when the shutter opens.
To do this, you can use a camera remote shutter or just set a 1-2 second delay timer in the camera settings.
Milky Way over Mudgee | Sony A7iii
ISO 5000, 17mm, f2.8, 13 second exposure

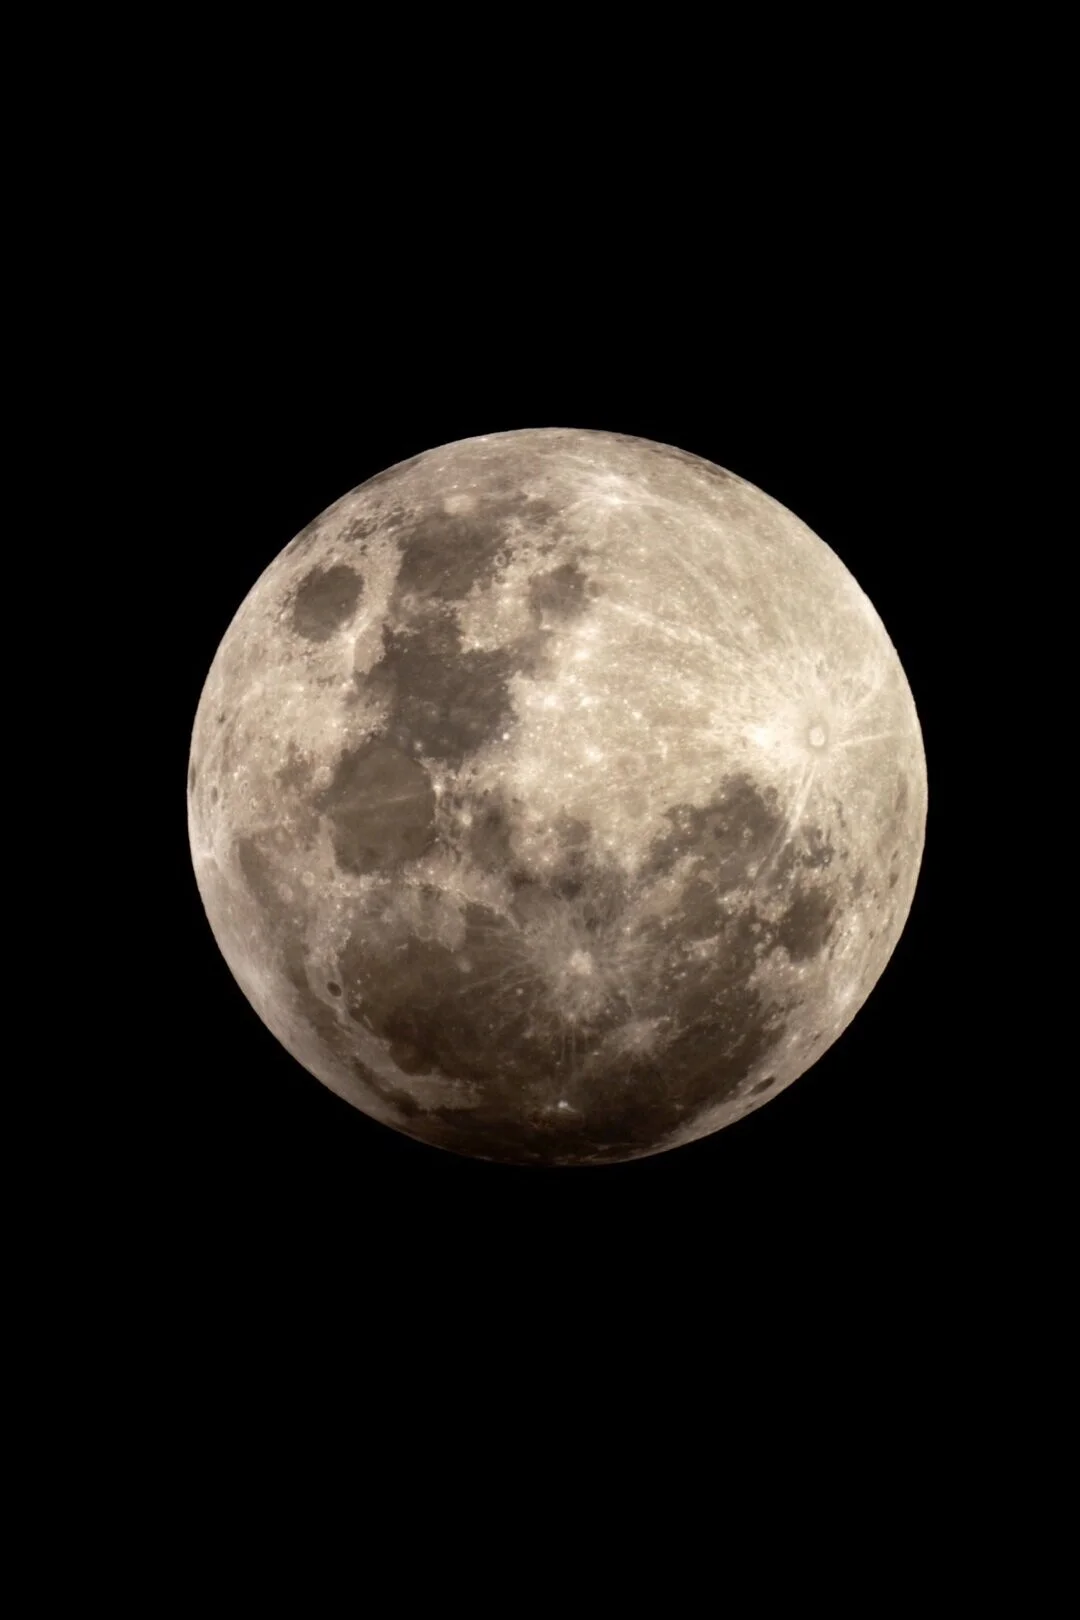
6. Capturing detail on the moon
It’s no secret that we’re obsessed with the moon and love capturing it in different phases.
Shooting the moon is different to shooting the stars because the camera is pointing directly at a light source. To capture details in the moon in a dark sky, it helps to use a telephoto lens, a higher aperture, lower ISO, and a short shutter speed.

Part-way through a lunar eclipse

Lunar eclipse and blood moon above Govett’s Leap 2021
7. Combine photos
Photos with both the moon and stars are generally composites, as each of these need different settings.
It’s difficult to get just one photo with a detailed moon and a galaxy of stars because a long exposure with the moon will take away all detail on it’s surface and drown out the stars around it, while a short exposure will bring back the detail on the moon but won’t be open for long enough to capture any stars. The only exception to this is during a lunar eclipse, when there is no light reflecting off the moon so the stars around it are visible.
This can also be the case for foregrounds—if you want to include the landscape in the photo, it may require different settings to the night sky.
To have everything in one photo, take multiple shots that are adjusted for each of the things that you’re trying to capture. Then, combine them in Photoshop and edit the lighting so that it all looks cohesive.

The first shot we took of the stars above Mount Cook, New Zealand | Sony A7iii
ISO 5000, 24mm, f4, 24 second exposure

Blue hour at Roy’s Peak, New Zealand
RECENT POSTS


PIN IT:

Find us on Instagram


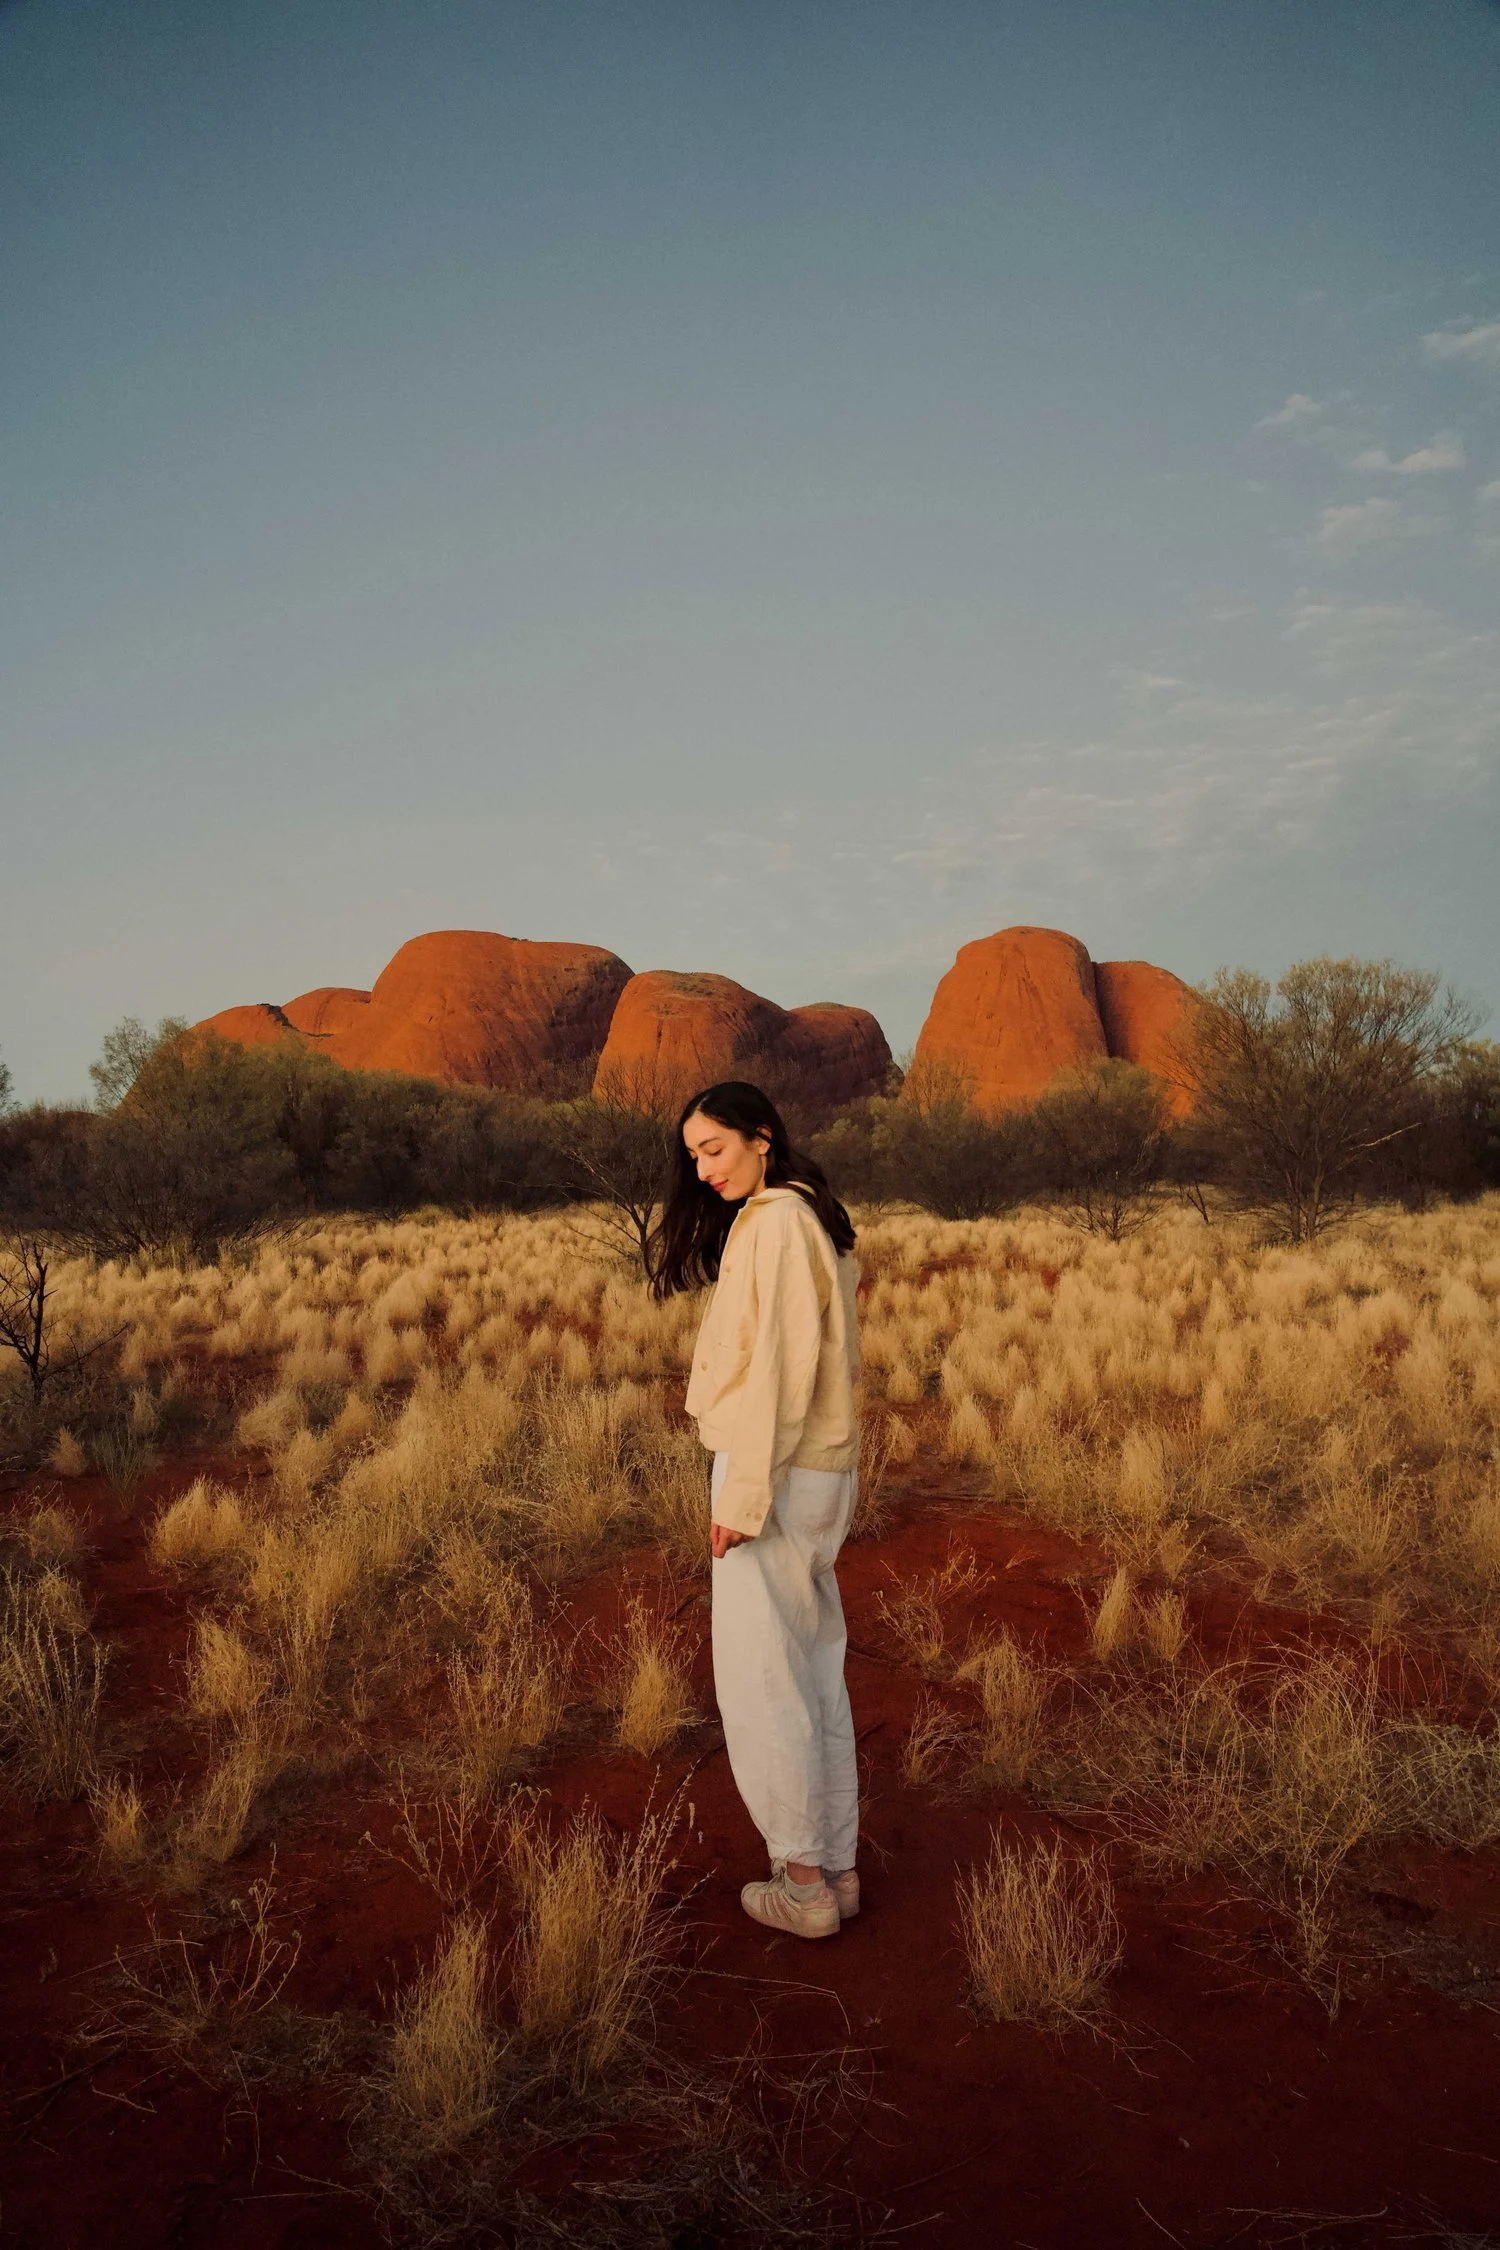
One of the best activities to do while visiting the heart of Australia is taking a scenic flight over Uluru, Kata Tjuta and Lake Amadeus.